 ( 67 ) 28-May-2013
The next task is to sand the edges of the rim so they match the shape of the top and back forms. To start, here I am sanding the tail and heel block flush with the edge of the rim.
Walnut Body
Sitka Spruce Top
Mahogany Neck
Pistachio Fretboard, Bridge, and Headstock
Maple Binding
Herringbone Purfling
Gold Frets & Gotoh Tuners
25.4 Inch Scale Length
( 67 ) 28-May-2013
The next task is to sand the edges of the rim so they match the shape of the top and back forms. To start, here I am sanding the tail and heel block flush with the edge of the rim.
 ( 68 ) 28-May-2013
I prefer when the power tools do the heavy lifting.
 ( 69 ) 28-May-2013
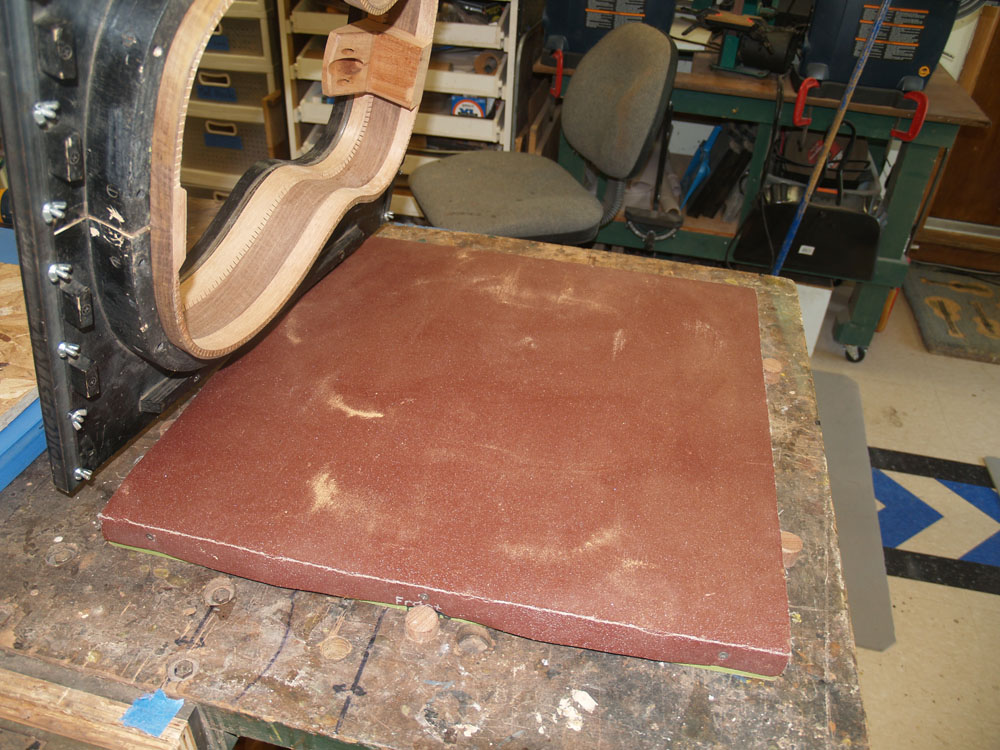
To aid in the construction of my guitars I have created forms that mirror the final shape of the top and back. In this picture I have placed a piece if sandpaper over the back form.
 ( 70 ) 28-May-2013
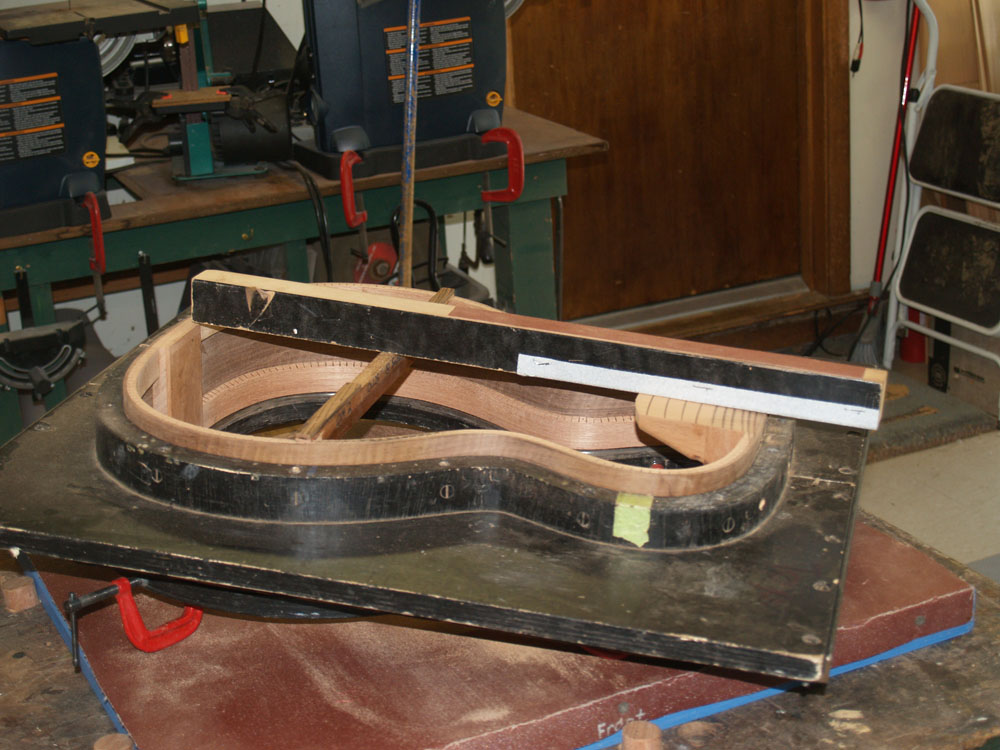
I mark the edge of the rim with a magic marker so I will know when the back edge of the rim is in full contact with the form.
 ( 71 ) 28-May-2013
I place a couple of weights on top of the rim so I get a good even pressure all around the rim. Now comes a bit of elbow grease.
 ( 72 ) 28-May-2013
I will continue to move the rim over the form until all of the marker has been removed. When I have a fresh surface all around the rim I know that I am finished.
 ( 73 ) 28-May-2013
The top edge of the rim gets the same treatment as the back edge.
 ( 74 ) 28-May-2013
 ( 75 ) 28-May-2013
The design of my guitars results in a straight line from the front edge of the guitar to the saddle. To ensure that the top of the heel block follows this line I use a sanding block and a spacer to set the proper angle.
 ( 76 ) 28-May-2013
I use a straight edge to make sure the top of the heel has he proper angle.
 ( 77 ) 28-May-2013
Finally, I put a bevel on the tail block so it will have the same width as the kerfing. This will eliminate any discontinuities when the top and back are glued on helping to promote a more free moving top and back.
 ( 78 ) 28-May-2013
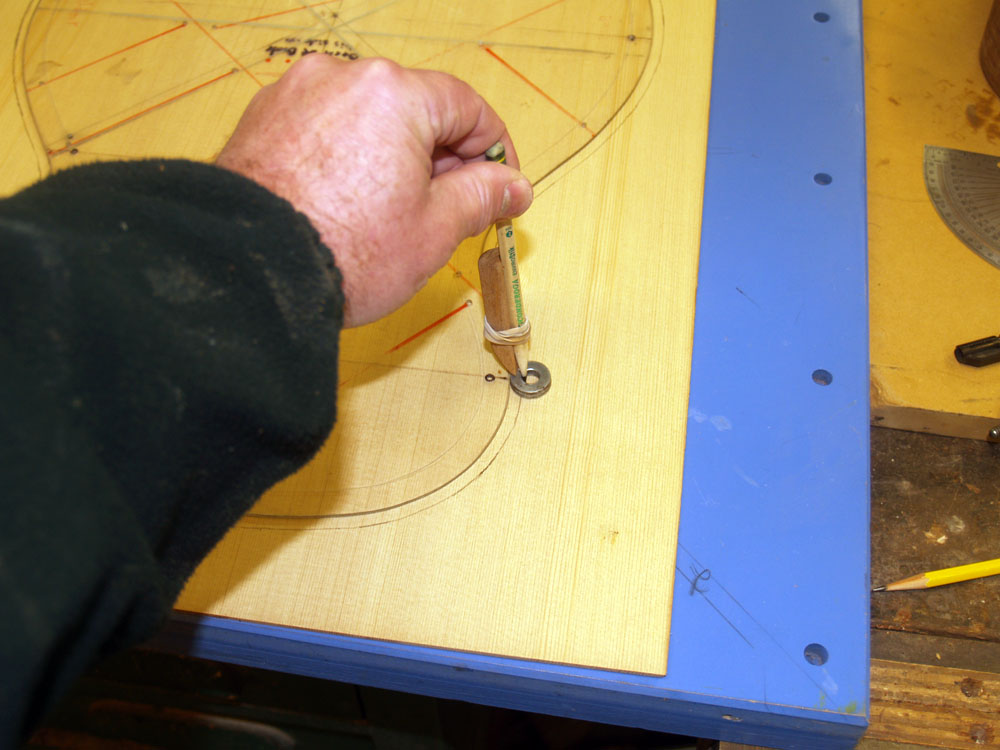
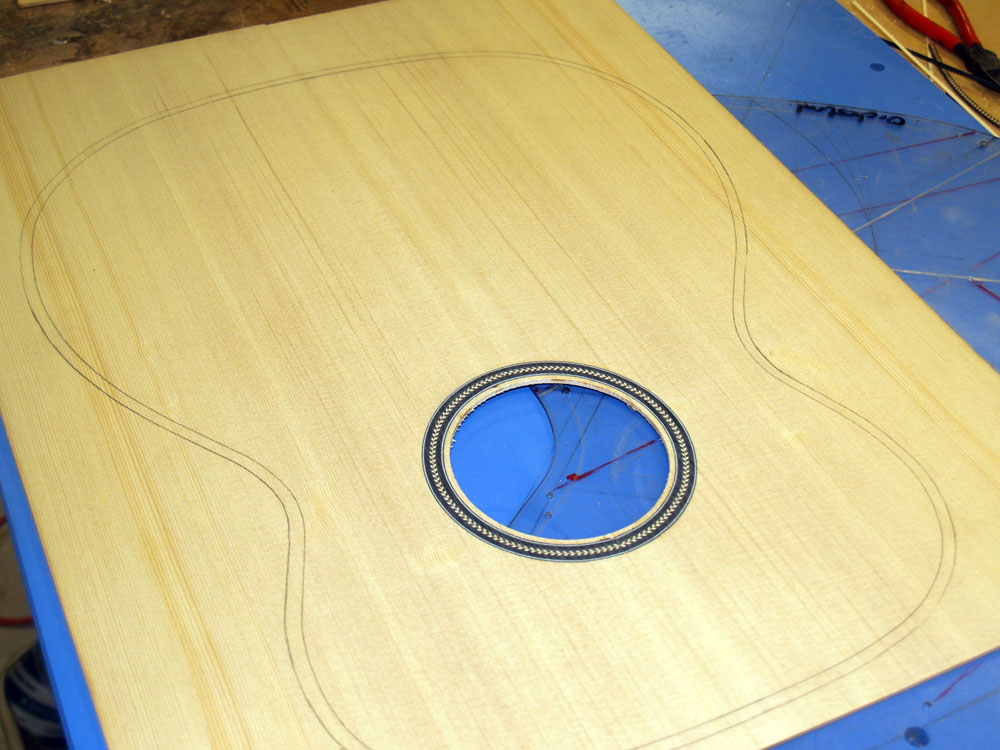
Here I am laying out the shape of the guitar on the top plate.
 ( 79 ) 28-May-2013
I add a bit of extra space around the outline.
 ( 80 ) 28-May-2013
I use my milling machine and a circle cutter to rout out the channel for the rosette.
 ( 81 ) 28-May-2013
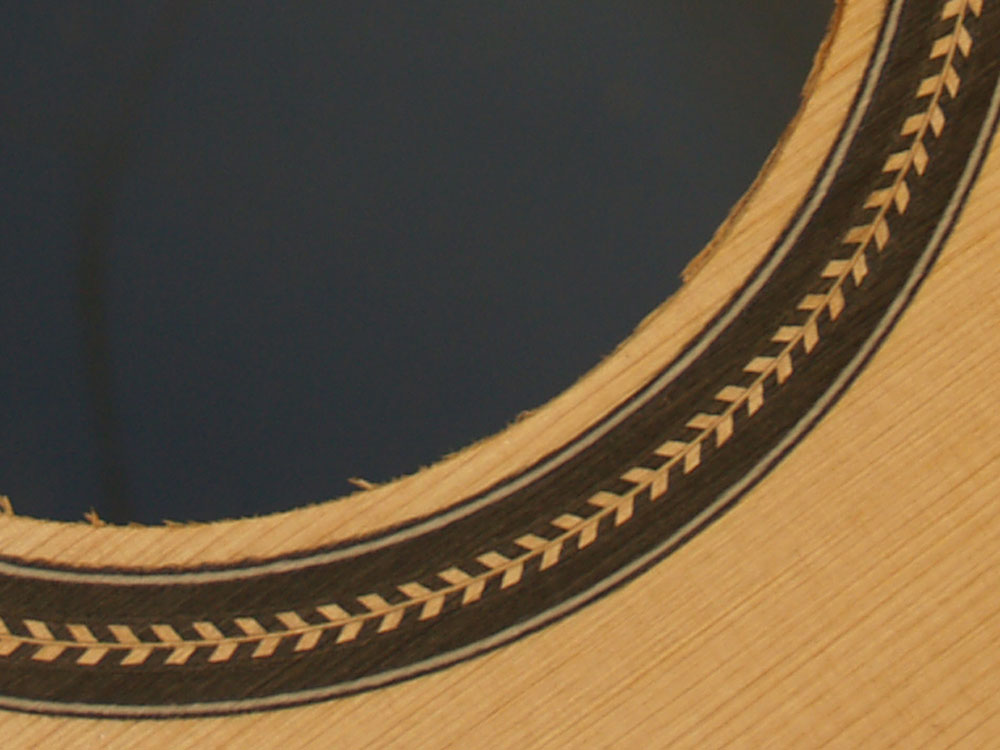
After cutting out the sound hole I inlay the various elements of the rosette.
 ( 82 ) 28-May-2013
When I am done the pieces of the rosette stand proud of the surface.
 ( 83 ) 28-May-2013
I use my drum sander to sand everything flush.
 ( 84 ) 28-May-2013
Once the rosette is flush with the surface I turn the top plate over and sand the back side until the final thickness is about 115 mil thick.
 ( 85 ) 28-May-2013
As I work on the guitar, the final thickness of the top will end up about 100 mil thick in the center, and 70 mil at the edges.
 ( 86 ) 28-May-2013